Empowering people to become more self-sufficient is really important to us. We teach people about technologies, tools and simple machines, so that they can make tools, machines and/or products themselves, to become an entrepreneur and/or use these products at home and in their communities. We make improvements in Anganwadi’s and schools, and we are working on better ways to print Braille text books!
1. Anganwadi and School Improvements:
In 2022, the Beacon AHEAD team renovated and improved 5 Aanganwadi Centres:
- We tied up with rural organizations to design and create model Anganwadi centers and model Schools:
- Conducted user research with teachers, manufacturers, parents and students.
- Created an overview of needs, resources, skills, space constraints, etc. vs. budgets.
- Designed and tested:
- Model layouts for Anganwadi centers and play areas.
- Innovative furniture and equipment:
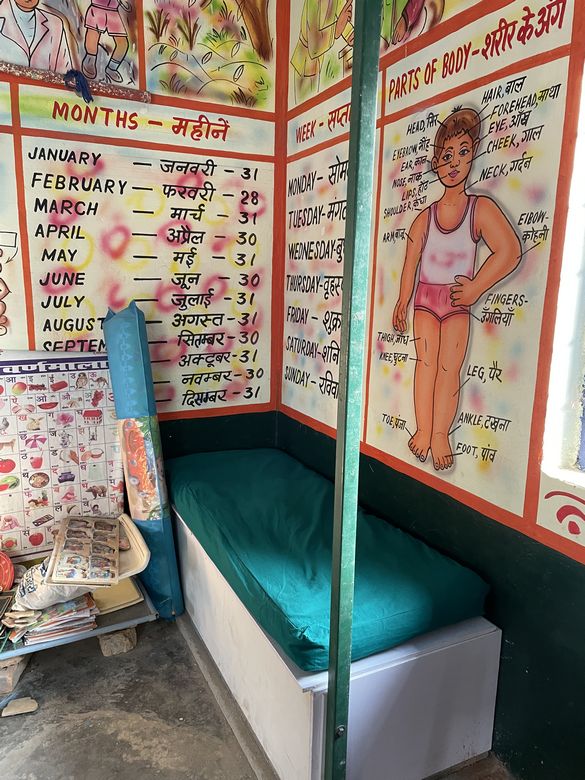
- Size/Age-appropriate child-friendly furniture and play structures.
- Space-saving, transforming furniture for the Anganwadi centers and schools, such as a storage box that doubles as the nurses exam table, with a built-in privacy curtain.
- Smokeless, eco-friendly cook stoves for the school kitchens.
- For states that are looking to improve their school infrastructure, this project could:
- Help to improve learning conditions for many children and young people, and
- Employ a large number of people in implementing and renovating these Anganwadi center and School improvements across the state.
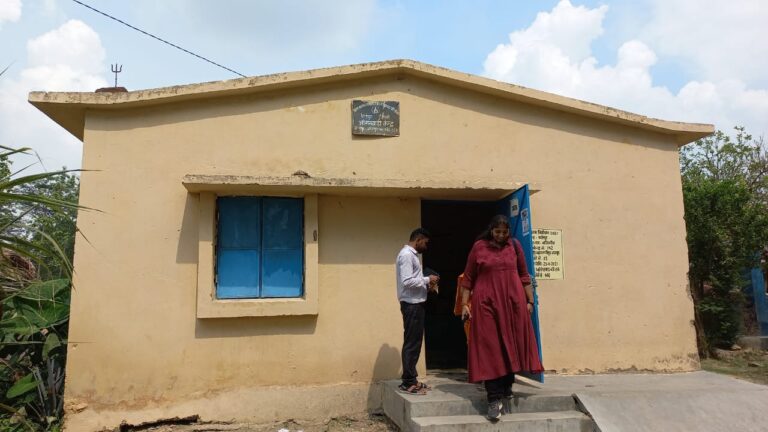
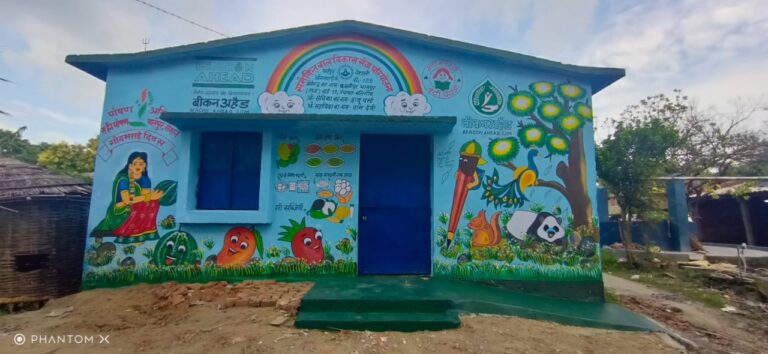
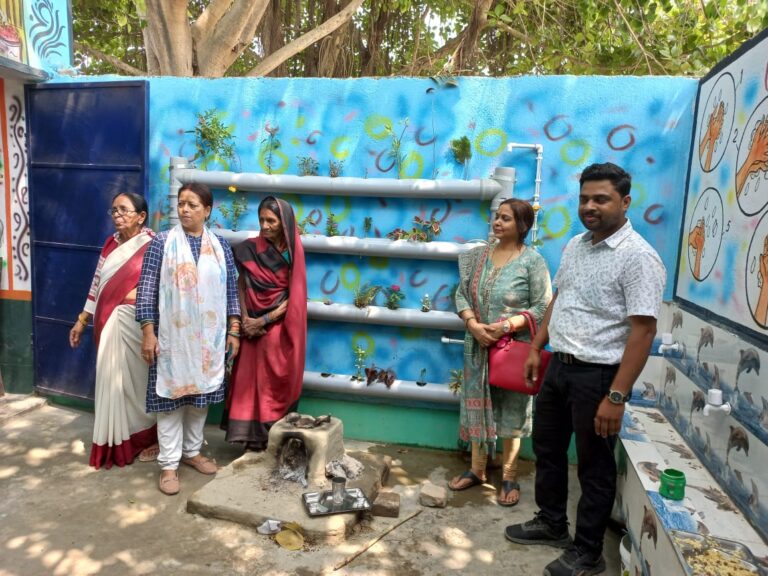
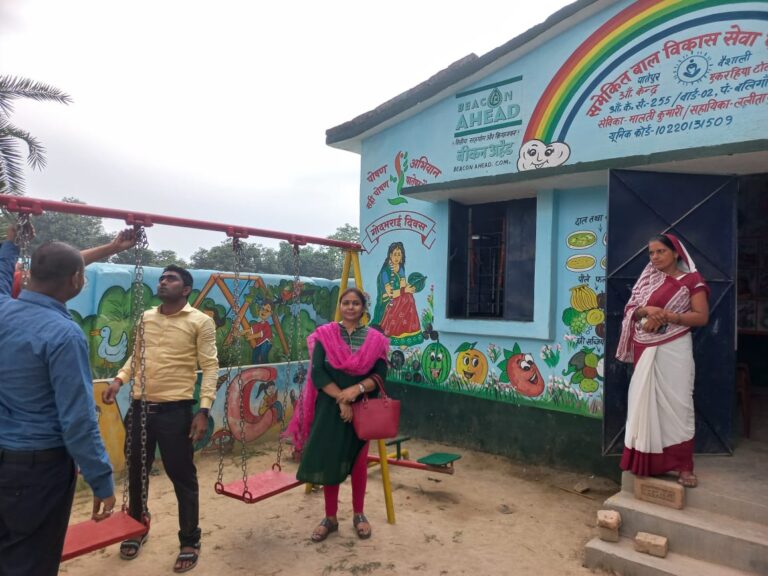
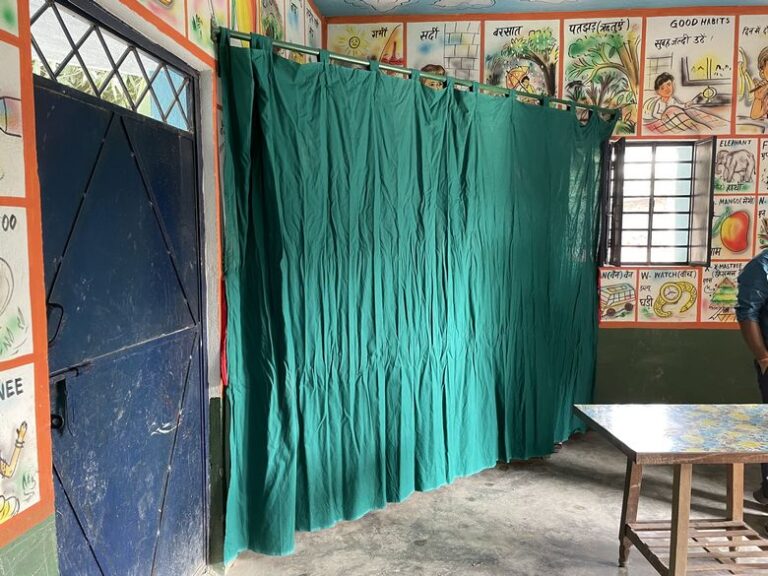
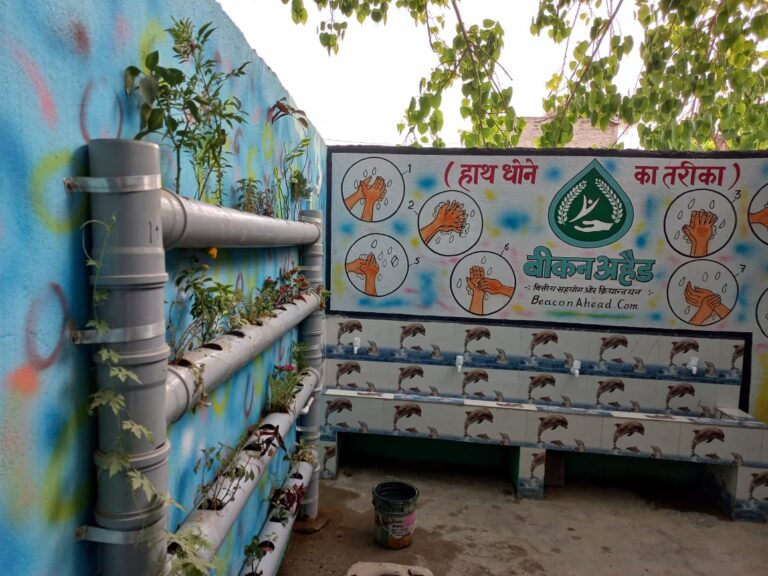
Beacon AHEAD repaired and renovated many Aanganwadi Centres this year. We repaired the roofs, walls, floors, ramps and stairs in each Centre. We painted exterior walls and inside the Aanganwadi Centres. We tiled the kitchen and bathroom walls, and added a handwashing station for children to wash their hands. We added a play area in two Model Aanganwadi Centres, along with gates and boundary walls around the play areas. The boundary walls have a space halfway up for planting flowers and small shrubs. Doors and windows were also repaired and checked.
In the vertical gardens, we added a water pipe and valve, so that by opening the valve for about 5 minutes, people can easily water all of the plants in the vertical garden at once.
2. Skills
Some of the low-cost products and machines that we teach people how to make are:
- Simple solar ovens and solar water heaters.
- Simple clean-burning cookstoves that are made from recycled materials such as empty cooking oil cans, clay-rich soil, sawdust, and short pieces of reinforcing bars.
- Compact grow towers that can be used to grow vegetables such as beans, tomatoes, etc. in small spaces.
- Adding automation to small machines, with electronic components such as stepper motors, Arduino micro-controllers, etc., to make repetitive tasks easier.
We teach people income-generating skills in the following Certificate Courses through weekend workshops in sustainable building methods:
- Building small structures with bamboo.
- How to build a cob oven and cob walls.
- How to in-fill house walls with:
- Compressed stabilized earth blocks (CSEB)
- Rammed earth
- Cast-in-place Aircrete (aerated concrete)
- The benefits of these workshops are that people:
- Learn how to make and/or use new and valuable products, and
- Gain confidence from learning new skills and approaches, and
- Learn how to evaluate low-value materials (such as sawdust, coconut shells, used copy paper, etc.) and find a market for valuable products that can be made from these materials.
- Find employment opportunities.
- Gain an excellent means to become social entrepreneurs!
3. Coconut Carving Machine:
We designed several low-cost low-cost, eco-friendly products made from coconut shells. When coconut shells are smoothed and polished, they have a beautiful dark wood pattern like teak wood. Useful, strong items can be made from this attractive and nearly free raw material. For example:
- Pen/pencil holders
- Phone or tablet stands
- Small storage boxes, etc.
Impact of making these products:
- Income enhancement for poorest of the poor families
- Effective utilization of natural products;
- Improving social status for the poor families;
- Avoiding migration to the cities, etc.
Next Steps:
- Build version 2 prototype, based on what we learned with the first prototype:
- Incorporate a grinder for smoothing the coconut exterior, into the machine, so that a rough coconut can be completely prepared and carved with the press of one START button.
- Improve the cam mechanism for raising the cutter and router, so that it has a better mechanical advantage to lift the weight of the router.
- Evaluate other raw materials and products that could be made with similar computer-numerical-controlled (CNC) machines, to help other low income people to have increased income with less strenuous work.
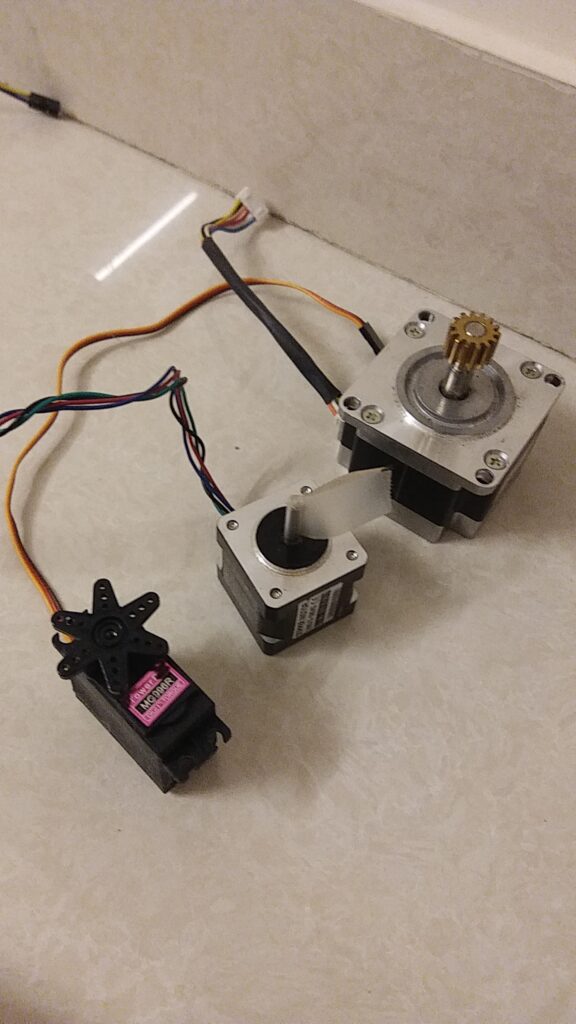
Second prototype of the Coconut Carving machine:
- Stepper motors were switched out, and servos were used instead.
- Servos have the advantage of moving between absolute positions. Stepper motors move in relative steps from a previous location, so in the event of a power outage, it’s difficult to restart the first prototype from the middle of a job.
- The frame is lighter – made from aluminum extrusions. This machine will be easier to build and transport, and less expensive.
4. Braille Printers:
In India and the rest of the world, majority of blind and sight-impaired people lack access to books for the blind – books embossed with Braille dots that can be read with the finger tips. Almost 90% of people who would benefit from Braille books do not have any hope to learn Braille or buy Braille books. We are researching affordable ways to print 3D Braille dots onto plain paper, so that Braille books can be extremely inexpensive, and available to all:
We tested several ways to make dots on plain copy paper:
- When we tested white glue by itself, we found that the glue flowed very nicely, but became stringy as the nozzle placing the dots was lifted away from the paper. The flour and water in the glue prevent that from happening. So, the combination of cooked flour and water for stiffness and cohesion, plus the glue for fluidity and longevity shows a lot of promise.
- We tested shredded wet newspaper in the mixture, but it tended to clog the extrusion nozzle.
- We tested blown air and heat lamps to evaluate how fast the flour and water dots could dry. The drying was somewhat slow, so this is an area that needs further development.
Impact:
The potential impact for the blind people and service providers is huge:
- We envisage developing and refining this Braille printer design, so that primary textbooks could be printed in schools for less than Rs. 1 each, total cost.
- This low cost could allow vast numbers of young students to have access to learning to read Braille, and to go on to study for graduation and beyond.
- These low-cost books could be achieved through donation of the new Braille printers, donation of used printer paper that can be covered in Braille dots (no matter whatever else was previously printed in ink on the paper!), and the use of simple and affordable raw materials for creating the dots themselves.
The new Braille printers can be replicated by:
- partnering with Indian printer manufacturers, and
- working closely with the manufacturers and end users, to ensure that the printers are extremely reliable and easy to use.
The aim would be to create a Braille printer that costs less than Rs 7000, for blind schools and other institutions for promoting education among the blind.
Going Forward:
- Tie up with Snehadeep Trust in Bengaluru, and others, to learn more about how blind people could enjoy interacting with a simple Braille printer:
- Conduct user research on what their main uses and challenges would be
- Brainstorm interactions and interfaces, etc. for the Braille printer.
- Continue to evaluate and develop materials for the dots, to combine the affordability and availability of household ingredients with the speed and agility of sprayed and heat-cured or UV-cured dots.
- Develop methods of mixing and applying the dots, so that this ‘print head’ could be added to a regular ink-jet type of printer chassis, in order to make the new Braille printer extremely affordable, so that all schools, organizations and institutions will be able to print Braille books, brochures, etc.
- Create easy ways to print 3D diagrams and shapes on plain paper:
- Blind and vision-impaired people learn in a physical way.
- We want to be able to print raised diagrams, math ideas (such as fractions), and maps, etc. to help people to learn new concepts in clearer ways.
- Create better ways to help blind students to take notes in classes.
A Simple Braille Printing Press:
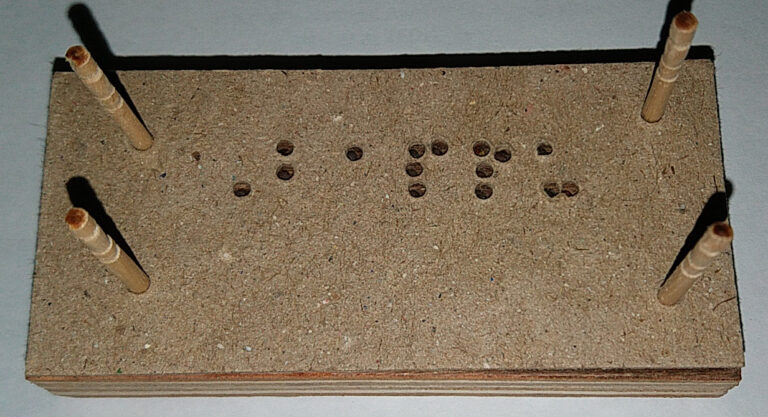
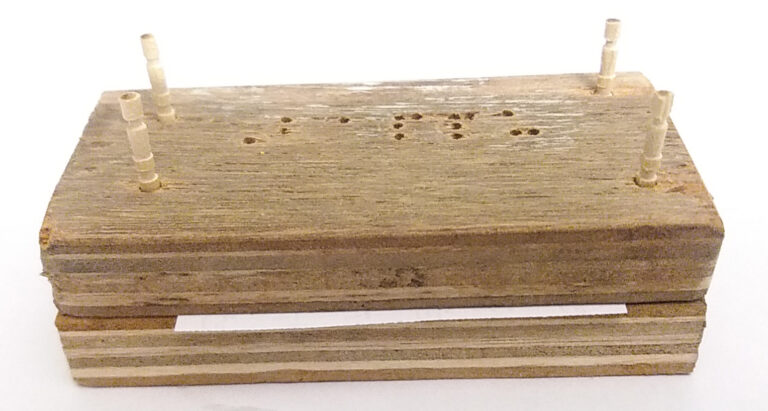
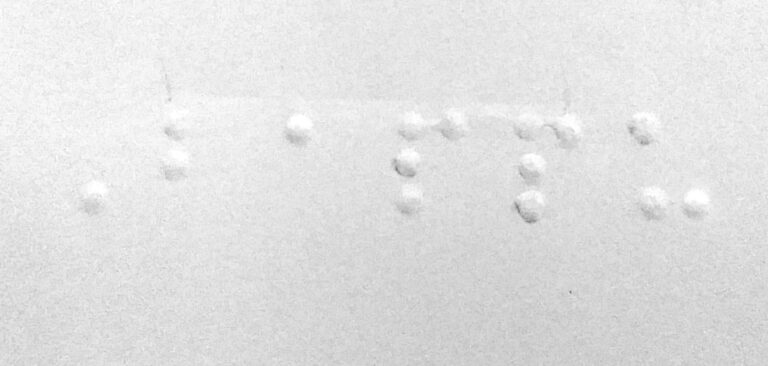
At Beacon AHEAD Institute, we are also experimenting with a simple, modular printing press for Braille. We used a template to load 1.5 mm diameter balls into a small press. Then we embossed recycled copy paper, and glued together pairs of sheets back-to-back, to form double-sided Braille pages. We are excited to pursue this method for printing books and text books for blind children and adults.
We apply paste/glue to the backs of the pages, to fill in the backs of the thin dots, and then glue pages back to back, to form strong, double sided printed Braille pages.

5. Cob Pizza Ovens
Cob is one of Nature’s great building materials. Cob is a mixture of clay, sand, water and straw. When the cob mixture is compacted into a shape, and left to dry, it becomes a strong and long lasting material for building walls, benches, ovens, etc. There are homes with cob walls that are hundreds of years old. Cob does need to be protected from rain, so we don’t build cob right on the ground, and we always put a roof above, to keep it dry.
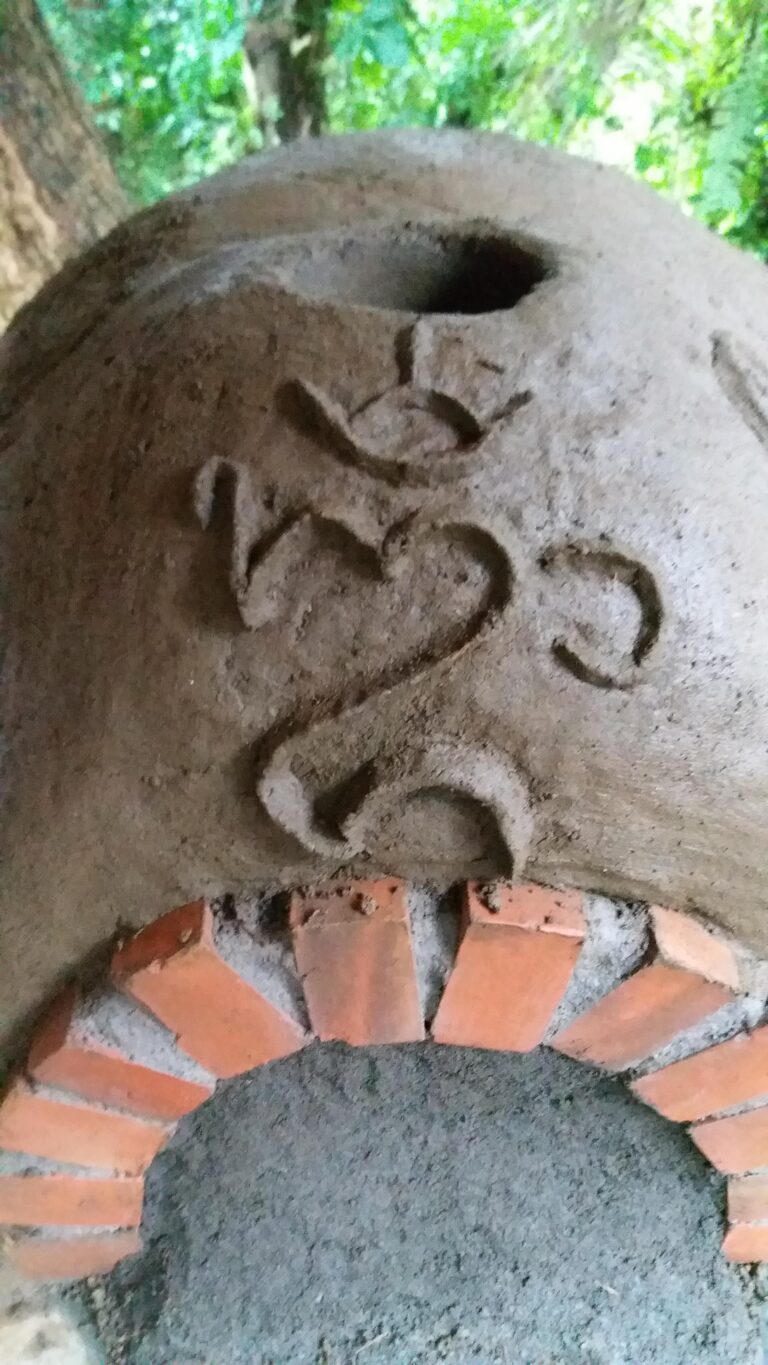
We teach two day workshops in building with cob. We make a small oven for baking pizza or bread, so that people can get hands-on experience making and testing cob, and they can gain confidence from working with cob in a small project.
The first step is to prepare a foundation or base that will keep the cob above ground level. For building a pizza oven, the next step is to pile up moist sand, to create the inside shape of the oven. And for a longer lasting oven, we build a strong doorway out of brick and mortar.
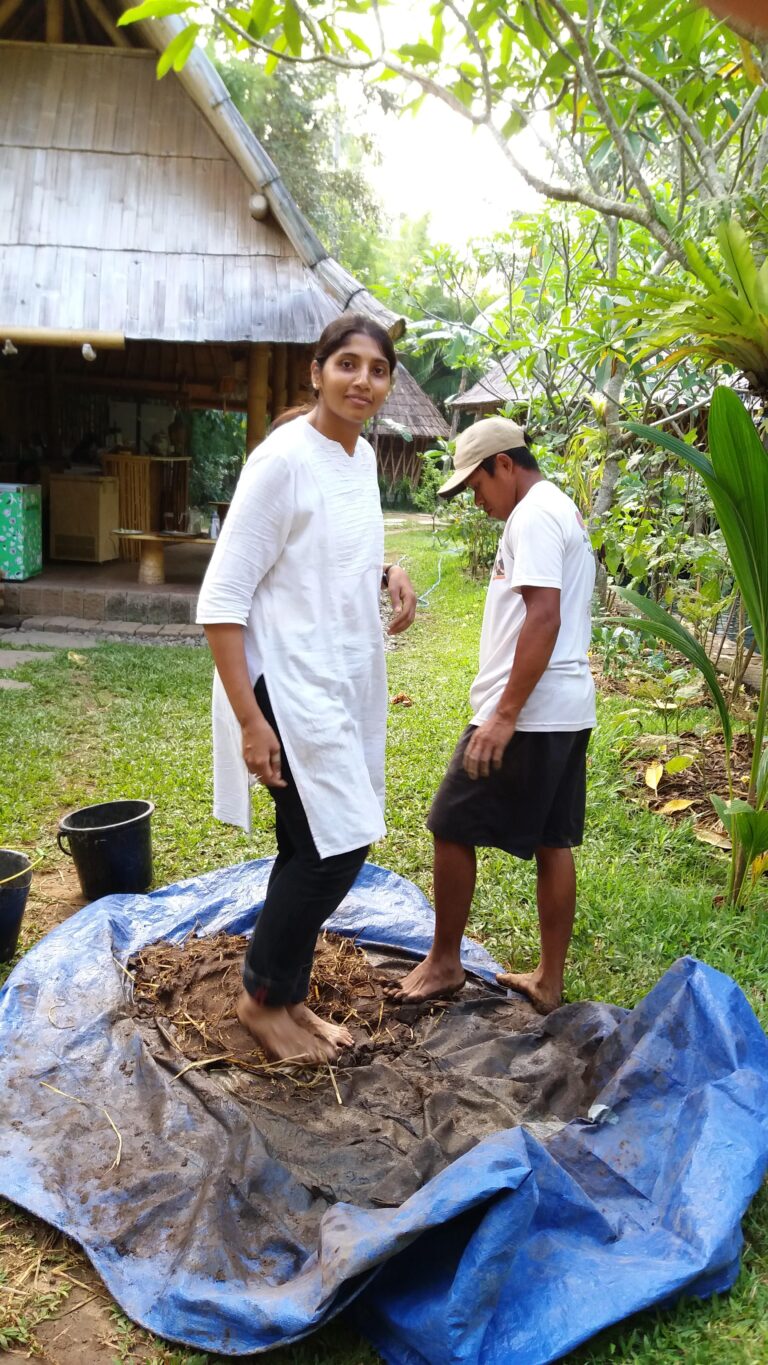
The next step is to mix the cob. We measure the sand and clay, and place them on a tarp. Then the fun starts! The ingredients are mixed by stomping on them, and by lifting the edges of the tarp to roll everything into a big lump. Occasionally, water and some straw are added, until the cob has reached a good workable, plastic consistency, and enough straw has been added to strengthen the cob when it becomes dry.
